Parallels Desktop offers several tools that enable the sharing between macOS and its guest operating system Windows: the Shared Folders Tool and Shared Profile Tool allow users to easily share files such as photos, documents, downloads, music or movies between macOS desktop computer and virtual machine virtual environment.
Parallels Desktop allows users to eliminate data duplication while sharing cloud services like iCloud, PhotoStream, Dropbox, GoogleDrive and SkyDrive across Mac and Windows virtual machines.
Users can share Windows applications between Macs and PCs by selecting Parallels Desktop in the menu bar, clicking Configure, selecting Share Windows programs with Mac and selecting Sharing options with Parallels Desktop.
How do I enable shared folders?

To enable shared folders in Parallels Desktop, follow these steps:
- Start Windows in your virtual machine.
- Click the Parallels icon in the menu bar and choose Configure. If the Parallels Desktop menu bar is visible at the top of the screen, choose Actions > Configure.
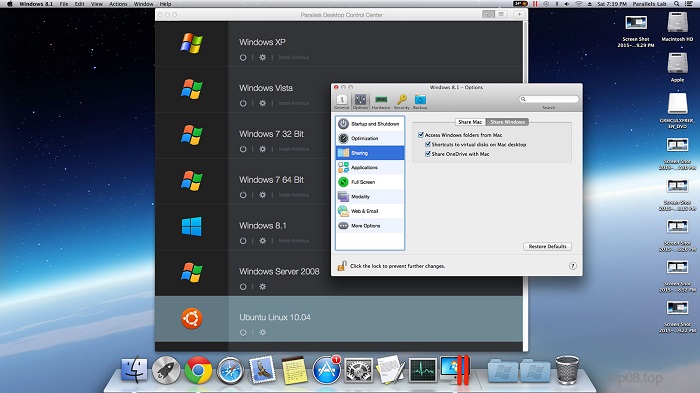
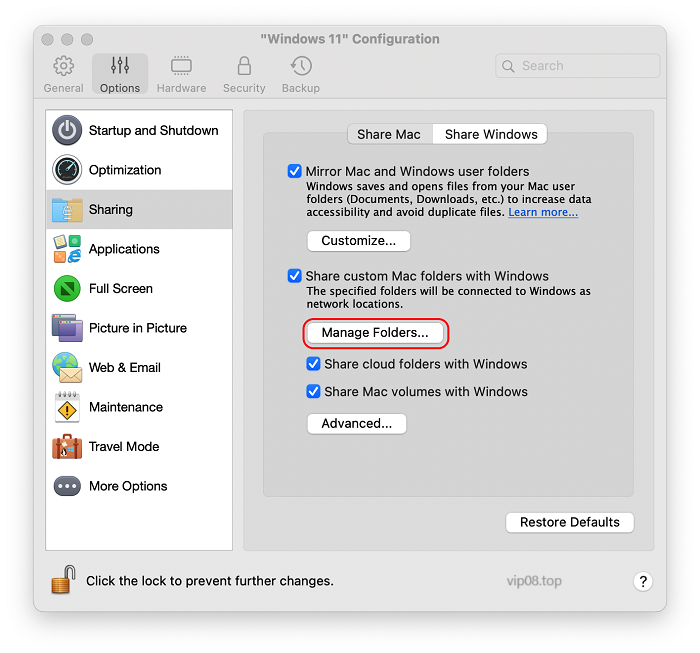
- Click Options and select Sharing > Share Mac.
- Choose one of the following options:
- To share only the folders in your Home folder, select Home folder only from the Shared Folders menu.
- To share all your Mac OS X folders, select All disks from the Shared Folders menu.
- To share a specific folder, click Custom Folders, click the add (+) button, and choose the folder you want to share. You can add more folders by clicking the add (+) button again.
- Once you have shared a Mac OS X folder with Windows, you can:
- Disable folder sharing by deselecting On.
- Change the folder name that will be displayed in Windows by double-clicking the folder name in the Name column and typing another name.
- Restrict writing to this folder by clicking Read & Write in the Permissions column and choosing Read only. You will not be able to add items to the folder.
How do I access shared folders in the virtual machine?
To gain access to shared folders in your virtual machine, follow these steps:
- Launch Windows in a virtual machine.
- Launch Windows Explorer. In the left pane, navigate to Network.
- Double-clicking “psf” allows access to shared folders.
Now you can easily access shared folders between macOS and Windows guest OS environments.
How do I share a folder from macOS to Windows?
To share a folder from macOS to Windows, follow these steps.
- Launch System Preferences on your Mac computer.
- Click “Share.”. When asked for credentials to access sharing settings, toggle File Sharing off. Depending upon what’s being unlocked for sharing purposes, unlock these via your login details if required.
- Click on the information icon at the right of File Sharing toggle for additional detail.
- Please click on the Options… button for customization options.
- Clicking “Share files and folders using SMB (Windows)1” enables sharing files and folders using SMB (Windows).
- Following these steps will enable file sharing between Mac and PC computers.
Now, your Windows PC allows you to access shared folders.
Can I share a folder between two virtual machines in Parallels Desktop?
Yes, Parallels Desktop allows for sharing folders between virtual machines. Here are the steps for configuring this option:
- Access the Virtual Machine Configuration dialog by choosing “Configure” in the Virtual Machine menu or by pressing on its toolbar button in its main window.
- Select Shared Folders in the Virtual Machine Configuration dialog to display this pane of Shared Folders.
- Enable the User-defined folders option so you can add shared folders to the list of folders.
- Clicking the Add button will launch an Add Shared Folder dialog.
- Create and select a folder on Mac OS X file system which you would like to share using Path.
- Enter a name for the folder to appear on your guest OS in the Name field.
- Add any necessary details about the shared folder to its Description field if required.
- If you want to prevent guest OS from writing files into this folder, enable Read-Only mode; this way only Mac OS X save files can go in here.
- Make sure the “Enabled” option is chosen, then click OK.
- Click “OK” in the Virtual Machine Configuration Dialog Box to save and close out.
Now you can launch your virtual machines and view shared folders within each guest OS.
How do I remove a shared folder from my virtual machine?
To delete an already shared folder from your virtual machine, follow these steps:
- Unlock the Virtual Machine Configuration dialog by choosing “Configure” from the Virtual Machine menu or by pressing on its Configure button on the toolbar of virtual machine main windows.
- Select the Shared Folders pane within the Virtual Machine Configuration dialog to configure shared folders on a virtual machine.
- Select the shared folder you would like to delete from the list.
- Click “Undo“, then “OK” when the confirmation dialog displays.
Your virtual machine will now no longer access its shared folder.