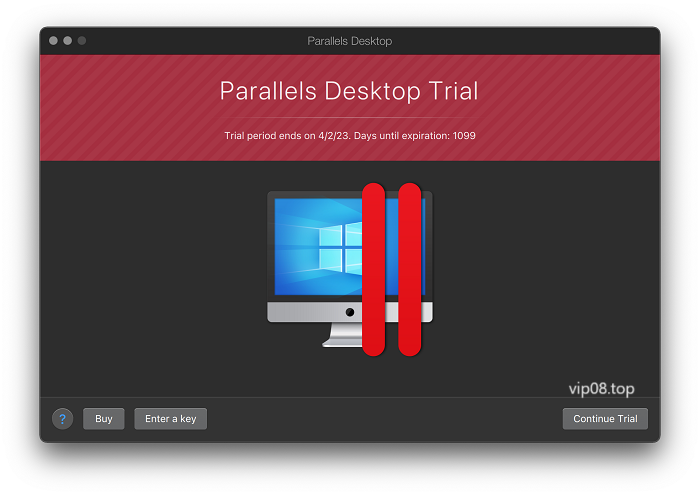
For a 14-day period, Mac users can utilize Parallels Desktop without any limitations and for free. Once the trial period is over, a license is necessary. GitHub provides strategies for reusing the trial period, but Parallels does not officially support them.
How much does a license cost?
There are several Mac licenses available from Parallels Desktop, including Standard Edition for home users, Pro Edition for programmers, and Business Edition for organizations. The Pro Edition is $129.99 per year, while the Standard Edition is $99.99 or $79.99 monthly. Check the official Parallels website for the most recent information as prices are subject to change.
How do I install Parallels Desktop on my Mac?
In order to install Parallels Desktop on your Mac, follow these steps: go to the official Parallels website, download the installer, mount it in Finder, double-click the “Install” file, read and accept the terms of the Software License Agreement and enter your local Mac user password. Once finished, you will not need to restart your computer to use Windows programs, giving you a smooth and effective Mac experience.
What are the system requirements for Parallels Desktop?
Depending on the version used, Parallels Desktop for Mac has particular system requirements.
| Component | Minimum Requirements | Recommended Requirements |
|---|---|---|
| Processor | Any Apple silicon chip or Intel Core i5, Core i7, Core i9, Intel Core M or Xeon processor | Intel Core i7 or Core i9 processor |
| Memory | 4 GB of RAM | 16 GB of RAM |
| Storage | 600 MB for Parallels Desktop application installation. Additional disk space for the guest operating system (at least 16 GB is required for Windows OS) | SSD drive with at least 500 GB of free space |
| Graphics | Apple M2, M2 Pro, M2 Max, M2 Ultra, M1, M1 Pro, M1 Max and M1 Ultra chips, Intel, AMD Radeon, or NVIDIA graphics cards | AMD Radeon Pro graphics card with at least 4 GB of video memory |
The following list of specifications varies depending on the version of Parallels Desktop 18 for Mac being utilized.
Can I run Parallels Desktop on macOS Monterey?

According to the official Parallels website, macOS Monterey 12.6 or newer is compatible with Parallels Desktop 19 for Mac. The minimum and recommended specifications are shown in the table below. The system requirements for Parallels Desktop vary depending on the version being used.
| Component | Minimum Requirements | Recommended Requirements |
|---|---|---|
| Processor | Any Apple silicon chip or Intel Core i5, Core i7, Core i9, Intel Core M or Xeon processor | Intel Core i7 or Core i9 processor |
| Memory | 4 GB of RAM | 16 GB of RAM |
| Storage | 600 MB for Parallels Desktop application installation. Additional disk space for the guest operating system (at least 16 GB is required for Windows OS) | SSD drive with at least 500 GB of free space |
| Graphics | Apple M2, M2 Pro, M2 Max, M2 Ultra, M1, M1 Pro, M1 Max and M1 Ultra chips, Intel, AMD Radeon, or NVIDIA graphics cards | AMD Radeon Pro graphics card with at least 4 GB of video memory |
What are the differences between Standard, Pro and Business editions?
There are several editions of Parallels Desktop including the Standard Edition for individual users. The Pro Edition for programmers and the Business Edition for businesses. Cost of the Standard Edition is $99.99 or $79.99 annually while the Pro Edition costs $129.99 annually. For $149.99 a year per license, the Business Edition, on the other hand, offers centralized management, unified volume licensing, and simpler tracking of numerous Parallels-running computers. Businesses with plenty of Parallels-running systems should use the Business Edition.
Can I install Parallels Desktop on multiple Macs?
Yes, you can install Parallels Desktop on multiple Macs. However, you will need to purchase a separate license for each Mac .
If you have already purchased a license and want to install Parallels Desktop on another Mac, you can follow these steps:
- Visit the official Parallels website and go to the Downloads page.
- Download the Parallels Desktop installer to your Mac.
- Double-click the downloaded
.dmginstallation file to mount it in Finder. - Double-click the “Install” file to start the installation process.
- Read through the Software License Agreement and click “Accept” if you agree to the terms.
- When prompted, enter your local Mac user password to finalize the installation.
When the installation will complete you will be able to run Windows applications on your Mac without rebooting.