Introduction
In this day and age virtual machines (VMs) are now essential tools to meet the various needs of computers. If you are a programmer, system administrator or simply a fan, VMs can help you operate several operating systems from a single physical machine. Sharing the VM across several Mac’s computers may seem like something that’s difficult to accomplish. In this article, we will explain the procedure that makes it simple and easily accessible.
Understanding the Need for VM Sharing
If you have several Macs using the identical VM on all of them can be extremely useful. It lets you maintain continuity across your workflow and ensures that you can access the same applications and environment regardless of the Mac you’re working on. This is especially beneficial for testers and developers who require compatibility across various systems.
Choosing the Right Virtualization Software
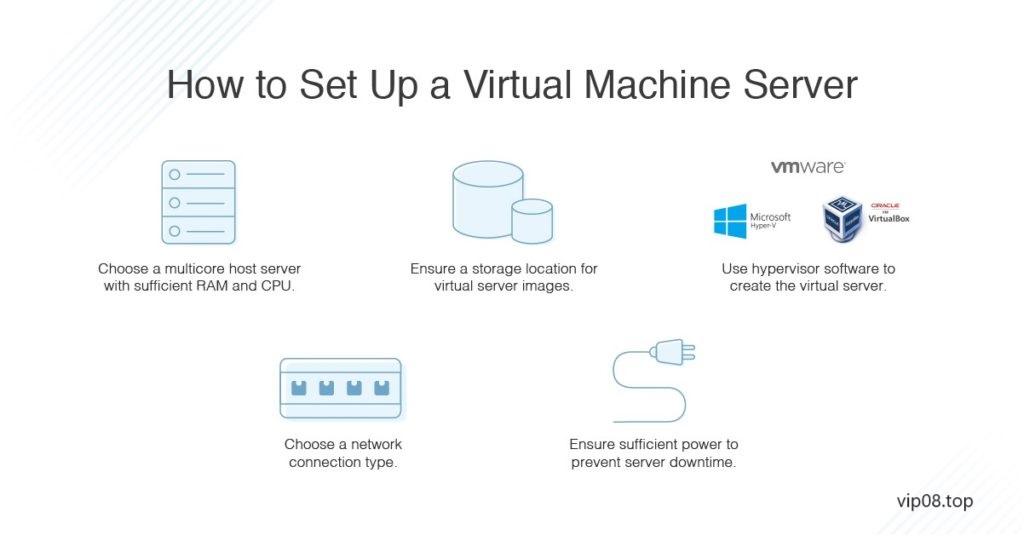
Before you begin sharing your VM it is essential to select the right virtualization program. Some of the most popular options are VMware Fusion, Parallels Desktop and VirtualBox. Each of them has strengths and flaws, so be sure you choose a program that best suits your needs.
Setting Up Your Virtual Machine
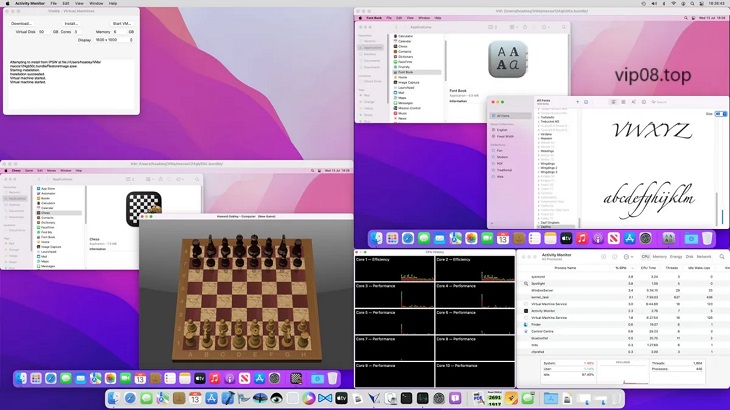
- Creating a New VM: Start by creating a brand new VM using your preferred virtualization program. The procedure typically involves specifying the operating system you wish to install as well as configuring the fundamental settings, such as memory and storage.
- Configuring Hardware Settings: Optimize the hardware settings of your virtual machine so that you can enjoy smooth and efficient performance. Set the amount of CPU cores and allocate enough RAM, and adjust the settings for graphics as needed.
- Installing the Guest Operating System: Follow the wizard for installation for installing the operating system you prefer regardless of whether you’re using Windows, Linux, or an alternative macOS version.
Preparing Your Macs for VM Sharing
- Enabling Sharing Permissions
For sharing your VM You’ll need to set access permissions for sharing on Macs. This means giving access to the VM folders and files.
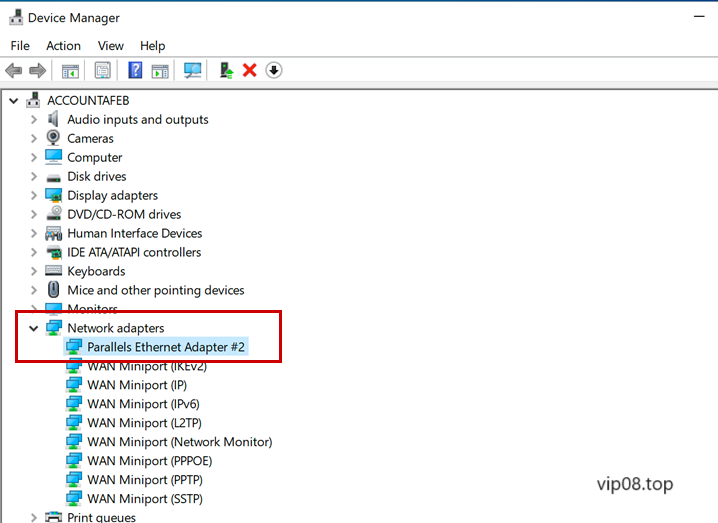
- Configuring Network Settings
Check that ensure that your Macs are connected to the same network and network sharing is turned on. This is essential to ensure smooth VM sharing.
Sharing Your VM
- Exporting Your VM: Create a VM from your original Mac using your virtualization program’s export feature. This will result in an image that you can transfer to different Macs.
- Importing the VM on Another Mac: On the targeted Mac you can import the VM via the import feature in your virtualization program. This will allow you to transfer the virtual VM onto the brand new Mac.
- Ensuring Seamless Performance: To ensure maximum performance, try not to run more than one resource-intensive application in your shared VM. Also, regularly check for driver and software updates. compatibility.
Troubleshooting Common Issues
- Network Connectivity Problems: If you experience network issues on your shared VM check that your network settings are properly installed for all Macs.
- Non-compatibility Host OS: Sometimes, problems arise when there is a need to share VMs across various macOS versions. Be sure that the VM has been designed to work with your host OS.
- Resource Allocation Issues: If you are experiencing performance issues check the resource allocation of your virtual machine. Change settings if necessary to increase performance.
Best Practices for VM Sharing
Make a backup of your VM prior to sharing it because unexpected problems can occur when sharing. Make sure you regularly backup your VM to avoid data loss.
Security Considerations
Be careful when sharing VMs that contain sensitive information. Use encryption and access control to secure your virtual environments. Backups regularly are crucial. Utilize the snapshot feature or dedicated backup tools to protect your virtual machine’s data and configuration.
Monitoring and Management
Make use of monitoring tools supplied through your virtualization program to keep a close eye on the performance of your shared virtual machine. Make any necessary adjustments promptly. As technology advances, VM sharing will become even more efficient and streamlined. Keep up-to-date with the most recent developments in virtualization.
FAQs
- Can I share a VM between Mac and non-Mac systems?
Sharing a VM between Mac and non-Mac systems is possible but may require additional configuration and compatibility checks.
- What virtualization software is recommended for VM sharing?
Popular options include VMware Fusion, Parallels Desktop, and VirtualBox. Choose the one that best suits your requirements.
- How can I improve the performance of a shared VM?
Allocate sufficient resources to your VM, avoid running resource-intensive applications, and keep software and drivers up to date.
- Are there any legal considerations when sharing VMs?
Ensure you comply with software licensing agreements when sharing VMs containing proprietary software.
- Can I share a VM with different macOS versions?
Yes, but compatibility issues may arise. Ensure that your VM is compatible with the host macOS version.